IGEL Blog

Authentication to Windows 365 with IGEL Smart Card
Anyone wanting strong authentication for their virtual desktops and choosing Windows 365 will probably consider Smart Card Authentication. Rest assured, IGEL got you covered!
Here are some tips and tricks that you might find useful for configuring your IGEL OS 12 estate to utilize Smart Card login for Windows 365!
Prerequisites:
Let’s start by the authentication prerequisites. IGEL supports Microsoft Entra Certificate Based Authentication which you can read about here: https://learn.microsoft.com/en-us/entra/identity/authentication/concept-certificate-based-authentication
When Entra is configured, the second part will be to add the smart card middleware to your IGEL OS endpoint. IGEL OS 12 includes OpenSC as middleware, but it needs to be enabled in the IGEL Setup registry to be active, or you can install any of the available middleware’s in the IGEL App Portal:
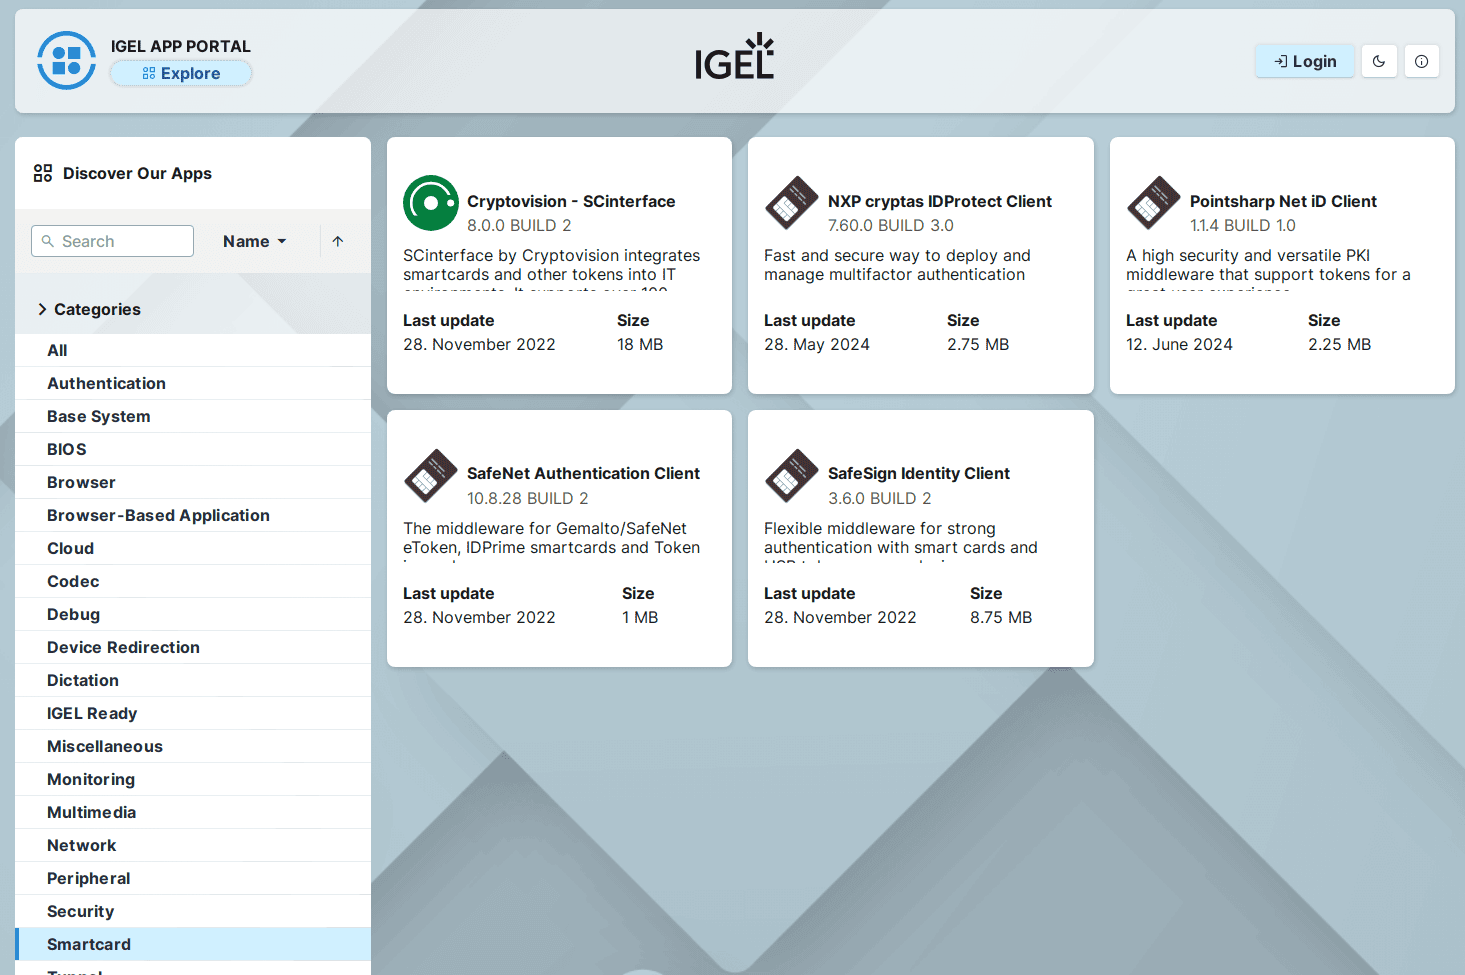
To enable the built in OpenSC, open up IGEL Setup or your profile, navigate to System-> Registry -> scard->pkcs11->use_opensc and check ‘OpenSC’
Otherwise, if you go for a middleware from the IGEL App Portal, you only need to install the Middleware and reboot, it will become active automatically.
IGEL OS Prerequisites: Your IGEL OS estate should be on base OS version 12.6.0, and you should use the IGEL AVD App 1.3.0 Build 4 (this is as of 2025 February 11). Yes, we are going to use the IGEL AVD App to connect to Windows 365 CloudPC, as the IGEL AVD App enables Microsoft Authentication Library (MSAL), which in turn enables Smart Card Authentication using Microsoft Entra Certificate Based Authentication.
The configuration:
First we need to create a basic configuration, adding a AVD session. Follow these steps:
Using IGEL UMS:
- In the WebUMS, create a new profile, Select OS 12 and give the profile a Name representing its intention – Click Select Apps
- Select IGEL Azure Virtual Desktop and click Save
- Make sure that Apps tab is selected, expand AVD and select AVD Sessions
- Click the + sign to create a session
- Edit the Session Name as preferred
- Expand Advanced Options and check ‘Microsoft Authentication Library (MSAL)’
- Click on System tab -> Click on Registry
- Expand app and edit the values in Configuration Settings below
Using the local IGEL Setup:
- In IGEL Setup, select the Apps tab, Expand AVD and select AVD Sessions
- Click the + sign to create a new session
- Expand Advanced Options and check Microsoft Authentication Library (MSAL)
- Edit the Session Name as preferred
- Click Save
The magic with IGEL OS is the possibility to alter configurations for the needs you have. There is no out-of-the-box smart card authentication and control the session by smart card insert and removal, but the tools are there to make it work. Let’s look at the configuration of the Smart Card Watch Daemon first. Open IGEL Setup, or your profile, and navigate to System-Registry:
Enable the Smart card Watch Daemon – This will allow executing commands when a hardware event is triggered, while inserting or removing the smart card from the reader.
Navigate to scard.scwatchd.enable – Check ‘Enable Smart Card Insert and Removal Actions’
Now when we have the smart card watch enabled, we can configure the insert- and removal-commands to be executed. Let’s together build the configuration that is used in the video below:
To read out User Principal Name on smart card insert and start session
Navigate to scard.scwatchd.insert_action and set it to:
export avduser=$(pkcs11getloginname | grep "^Login:" | sed -e "s/^Login://"); su -c "appwrap avd0 avd" userThis will set the variable ‘avduser’ to the UPN of the certificate on the smart card. When the UPN is read, we will start the configured AVD session
And to control the smart card removal behavior, we can use this example:
Navigate to scard.scwatchd.removal_action =
export avduser=""; killall -9 igelrdp3-avd; killall -9 igelrdp3-msal-authThe above command will reset the ‘avduser’ variable and hard kill the running processes, which leads to a rapid disconnect from the Windows 365 session
Finally, we need to configure the IGEL AVD App (used to connect to your Windows 365 resources):
Navigate to app.avd.sessions.avd0.options.cmd_ext =
--username $avduserThe above will tell the IGEL AVD Appset the username to the previously retrieved UPN during the card insert.
As long as the user only have one resource allocated, it will automatically connect to the users session. If the user has multiple CloudPC’s, or even a mix of CloudPC’s and AVD resources, a resource picker will be displayed, allowing the user to select the resource to use.
The result:
Finally, let’s have a look at how it will look for the user, when inserting the Smart Card in the reader and connecting to the session. Then removing the Smart Card from the reader to disconnect from the Windows 365 CloudPC:
A series of blogs on this topic is in the writing and will follow shortly. Read the next blog in the Authentication series.
Thank you for reading and watching!
/Fred
IT leaders, innovators and security experts will converge at IGEL Now & Next in Miami in March to show the latest solutions and synergies to optimize endpoint management, enhance security, and improve clinical workflows. Click Register Now to view the agenda and keynote speakers.